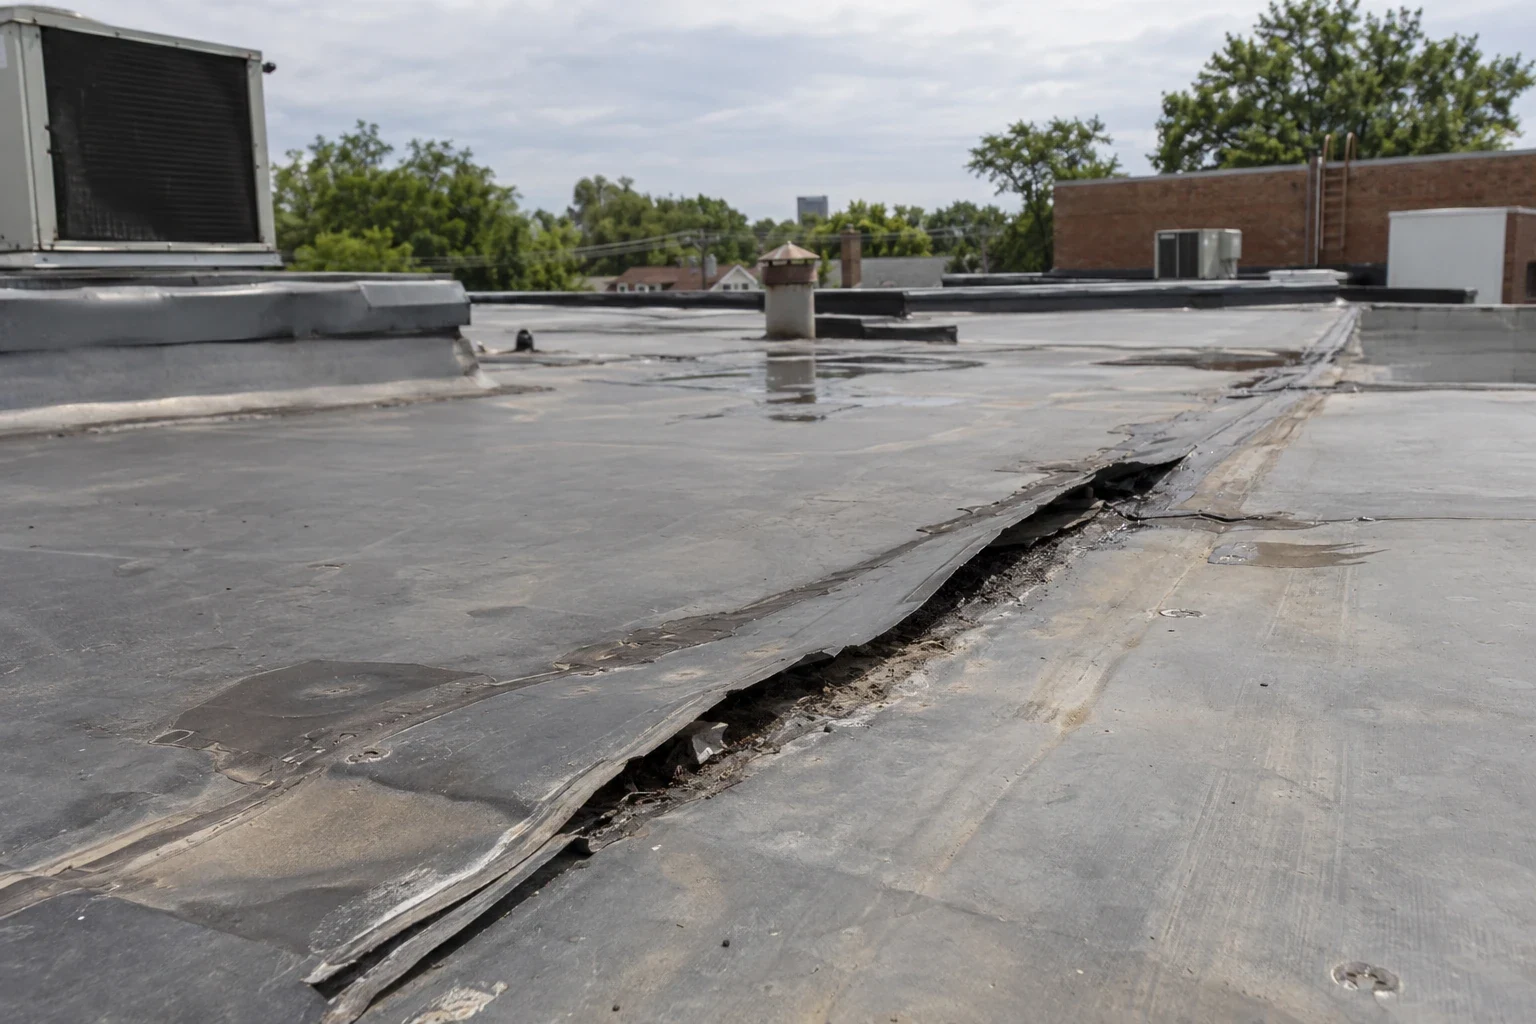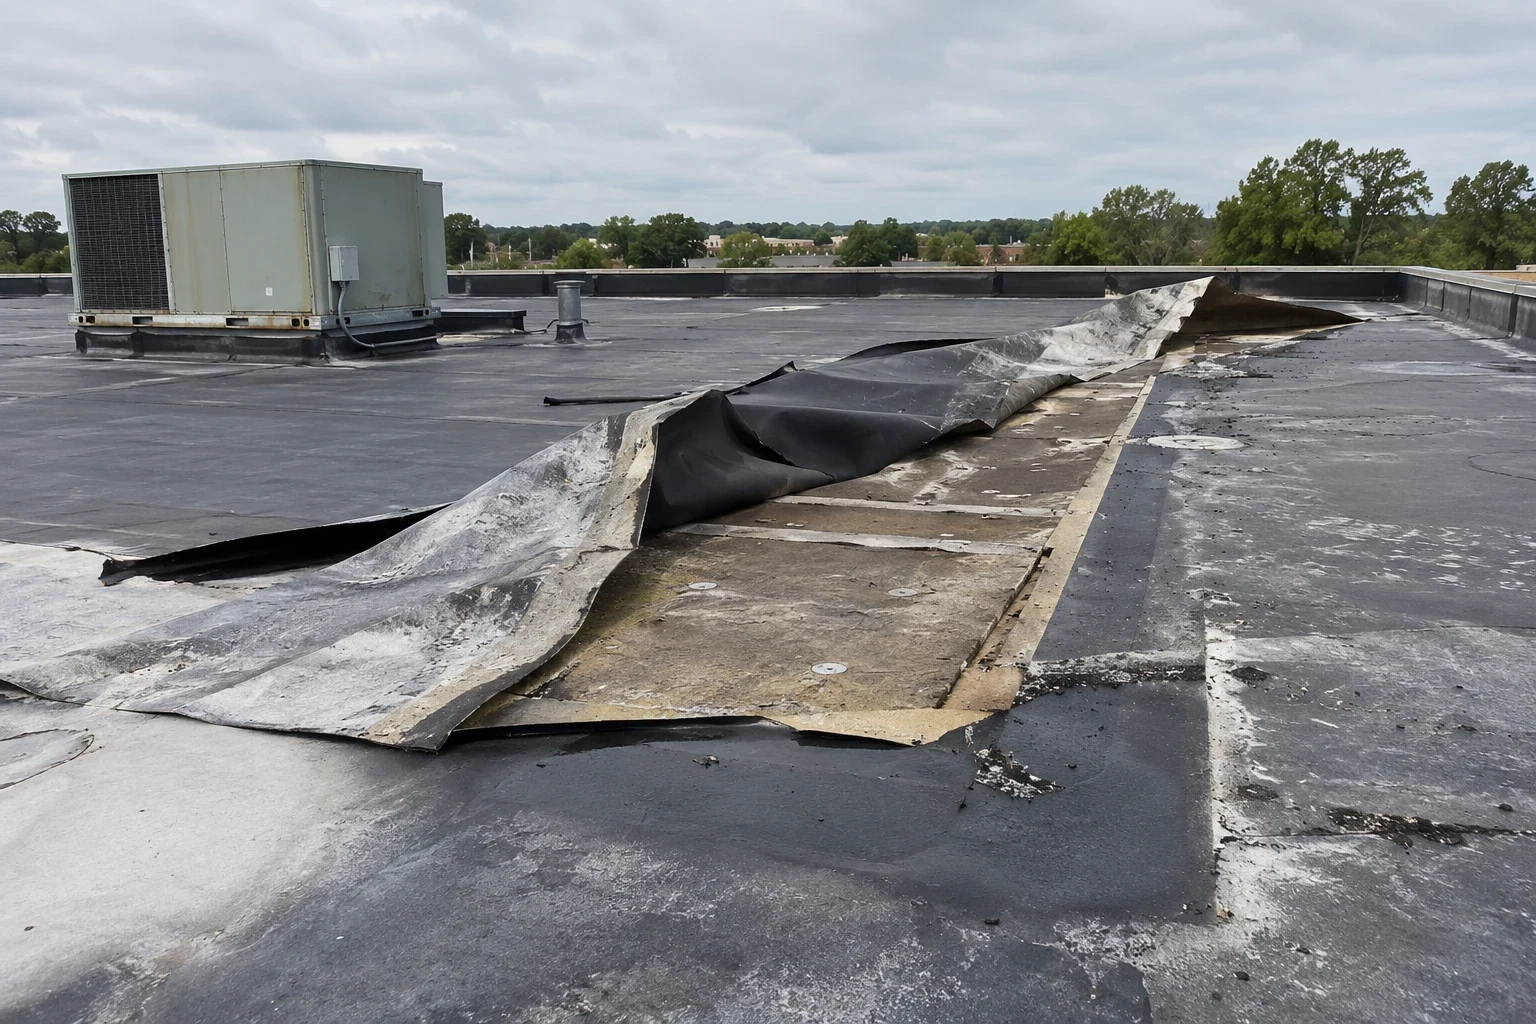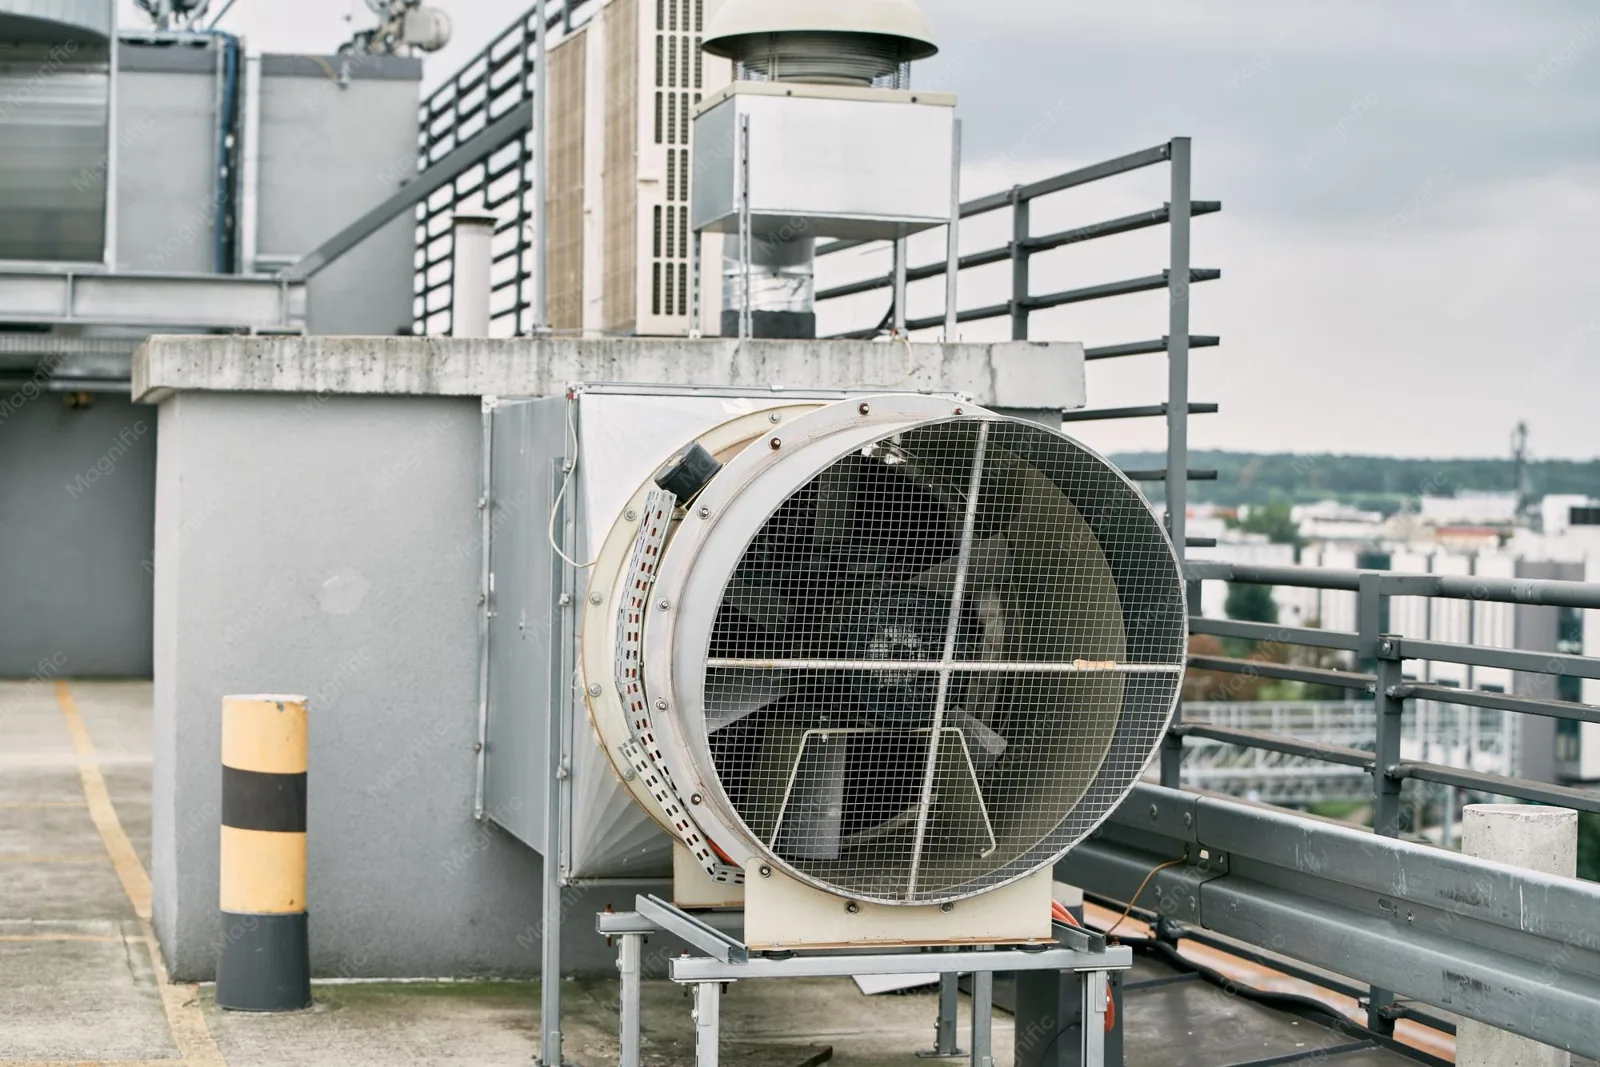
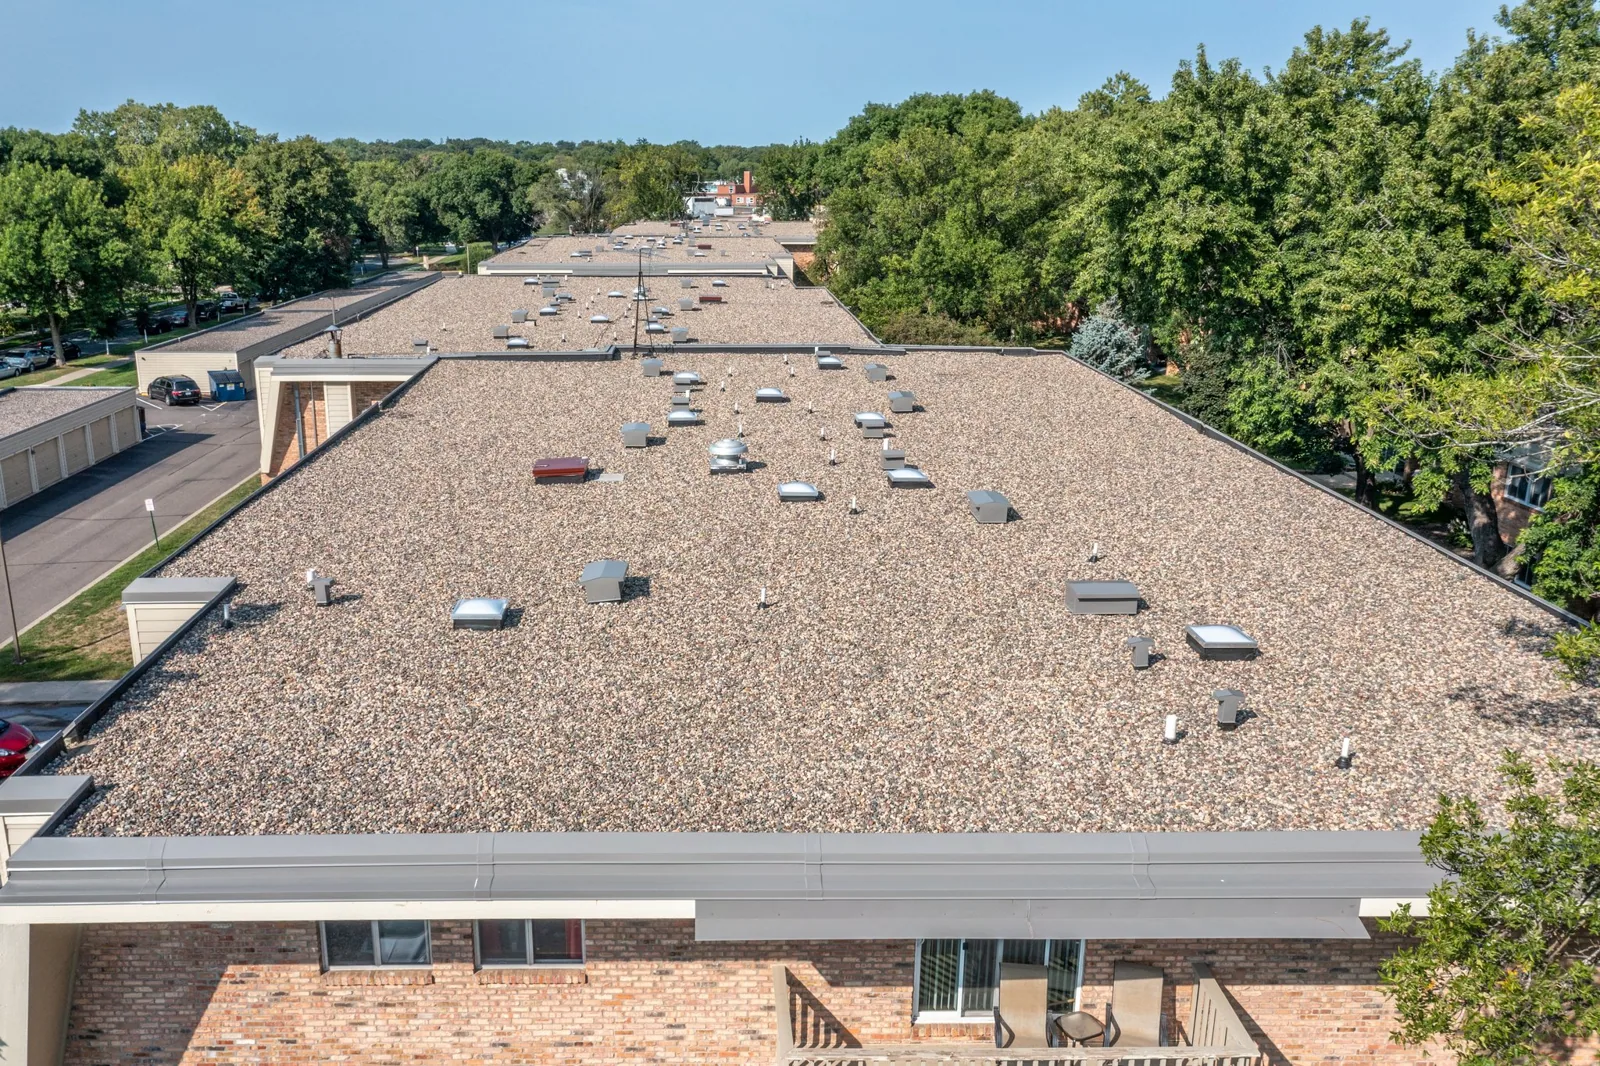
A flashing repair begins with finding every flashing, not just the one that leaks. Before the crew opens a single detail, we need the roof plan, a list of the rooftop equipment, the key holder for the hatch and the hours when the space below is quiet. The walk that follows produces a count: how many wall tie-ins, curbs, pipe boots and edge details the roof has, and the state of each.
Flashing failure in Kingsport, TN shows up where the membrane meets something else. Our plan walks the repair in order: locate, dry in, strip, re-flash, tie in, test and close out. Every step lists its prerequisite and its handoff, and a failed flashing often sits beside a seam failure or a wind damage lift at the edge.
The First Step Is a Count of Every Detail
We walk the perimeter first, then the walls that rise above the roof, then every curb and penetration. Each detail gets a number on the sketch plan and a photograph. Details that look sound are logged along with those that look bad, so the final scope covers the whole roof and not just the leak.
Sealant that has dried and cracked, counterflashing that has lifted, boots that have split and curbs that have been crushed by service traffic are the usual findings. The count tells us whether to patch a few details or re-flash a whole run.
The count also records what sits behind each detail. A flashing on masonry gets a different bond than one on metal or a panel, and a note of the substrate saves a trip later. Moisture readings near failed details help decide whether insulation needs attention before the new flashing goes on.
Each failed detail is tagged with its likely cause: movement, age, traffic or a poor original install. The tag steers the repair choice, and it tells the owner whether the same failure is likely at the details that still look sound.
Access, Staging and Material Hoist for Detail Work
Flashing work is slower and more detailed than field work, and it needs staging close to the work. We place a small laydown area near the access point, with sealants, termination bar, flashing stock and tools in locked boxes. A material hoist handles heavier items such as curb kits and metal coping.
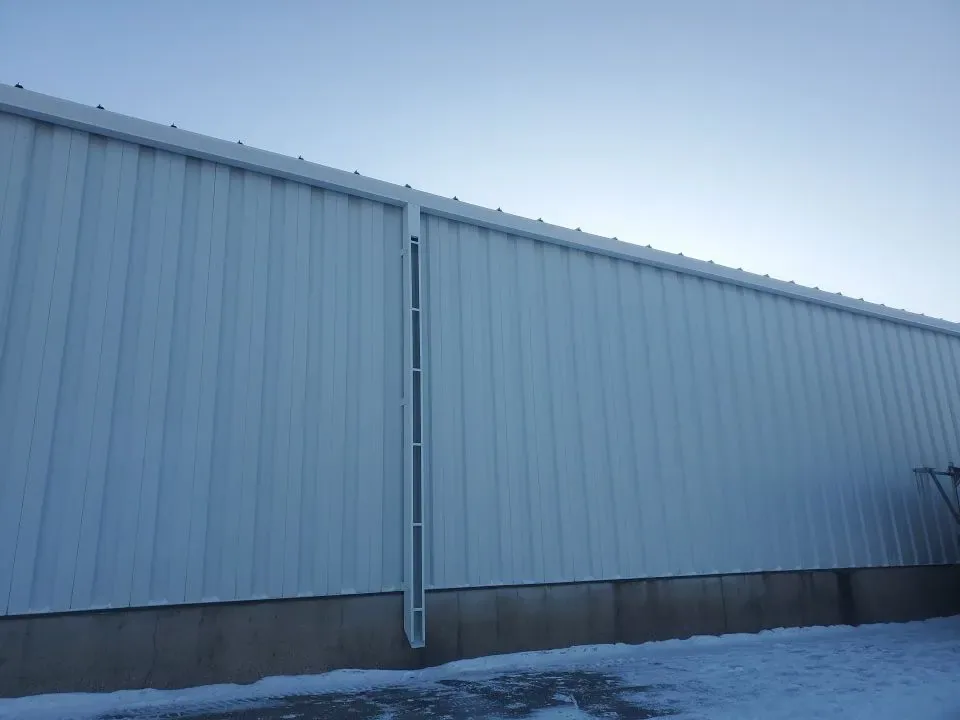
Where the roof meets a tall wall, as it may on the downtown buildings now under renovation, we plan for a lift or scaffold at the wall. The lift position, the pedestrian detour and the work hours are written in the plan and sent to the building contact.
Downtown Kingsport has the Kingsport Grocery and Citizens Supply buildings under renovation and 32 townhomes planned on adjacent lots, so a lift or scaffold at a wall may share the block with other work. We confirm the street use before the lift is booked.
Sequence of Work, Strip to Test
The sequence for each detail is the same. Strip the failed flashing back to sound substrate. Clean and prime the surface. Install the new base flashing, bonded or welded to match the membrane. Terminate the top edge with a bar and sealant or a counterflashing; edge metal and coping get the same treatment. Test the seal with water or a probe before moving on.
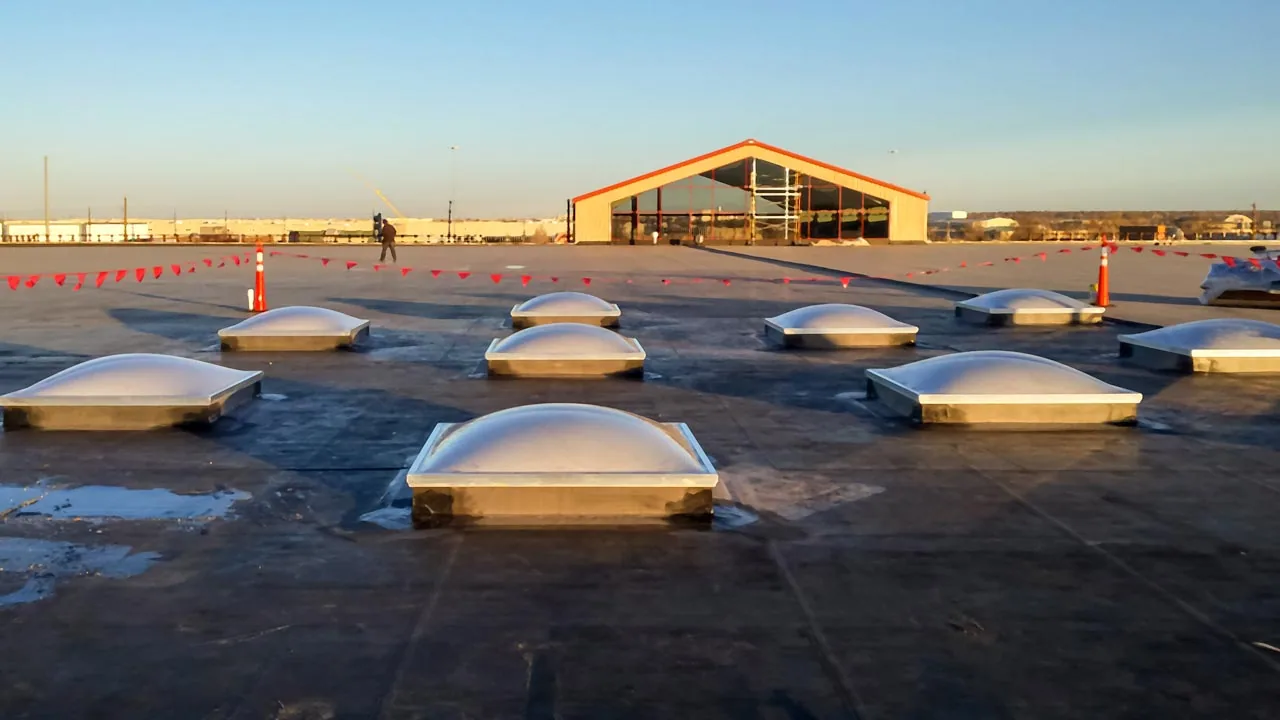
Tie-ins are the last step on each detail, and they are the first thing an inspector checks. Where a wall flashing meets a curb, a corner patch is cut and welded, not bunched. A skylight and penetration flashing scope lists each detail with its height, termination and fastener spacing.
Pipe boots are replaced, not patched, when the collar has split. A new boot is sealed at the base and the top, and the surrounding membrane is checked for a second tear before the next boot is started.
Phasing Around Tenants and Equipment
Details around rooftop equipment may need the unit shut down for a short time. We coordinate the shutdown with the mechanical contractor and the tenant, schedule it for the quietest hour and restore the unit before the crew leaves. The plan lists each unit and its shutdown window.
For rooftop equipment curbs and supports, the sequence also covers the support rails and conduit penetrations that sit beside them. A detail repaired next to an unrepaired one fails at the join, so adjacent work is done in the same visit.
If a detail cannot be completed in one visit, temporary protection goes on before the crew leaves and is photographed. The next shift starts by checking it.
Retail along Stone Drive brings its own rhythm: store hours, deliveries and holiday freezes. The flashing schedule for a store there follows the trading calendar and keeps loud work out of peak weeks.
Inspection, Permit and Test
Re-flashing usually falls under the roofing permit for the building. The Building Department can tell us whether a patch-scale job needs one; larger scopes get a submittal while materials are on order. The inspection visit is booked before the first detail is stripped.
Tests are part of the record. A hose test at a curb, a probe test along a weld and a visual check of every termination are logged with photographs, and the inspector sees the same set.
Weather Windows for Sealants and Welds
Sealants and adhesives have temperature limits. Kingsport's record runs from near minus 18 F to 104 F, so the same flashing job may be a winter patch in one month and a full re-flash in another. The plan lists which details wait for a warm window and which get a temporary seal that holds until then.
Warnings from NWS Morristown for the county have named gusts of 60 mph and hail, so staged flashing stock is strapped or stored below the roof at the end of each day. With wet weather on about 133 days a year, no detail is left open overnight.
Heat in July softens some sealants, so work on south-facing walls starts early and breaks are written into the shift plan.
Closeout and Punch List
Once the last detail has passed its test, the building contact walks the roof with us and the punch list is photographed. The folder that follows has the detail count, the product sheets for sealants and flashings, the test records and the permit record.
A curb kit still on back order stays listed with a date and a name until it is set.
Commercial Roofing Questions
How do you tell a flashing leak from a membrane leak?
We follow the stain upward and check whether it lines up with a curb, a wall or a penetration. A leak at one of those is usually flashing. We recommend a water test at the suspect detail before any membrane is replaced.
Is sealant alone a proper repair?
Only for small cracks in otherwise sound flashing. Larger gaps or lifted metal need new flashing. Sealant over a failed detail tends to fail again, so we recommend replacing the detail.
Can flashing be repaired in cold weather?
Some repairs can, using materials rated for the temperature. Others wait. We recommend a temporary seal for the cold months and a scheduled repair for the first warm window.
Why do rooftop unit curbs leak so often?
Service traffic and vibration wear the flashing, and curbs carry the most penetrations. We recommend inspecting every curb at each visit and replacing worn pads.
Should flashing be repaired before a recover?
Yes. A recover over a failed flashing carries the leak into the new roof. We recommend re-flashing before or with the recover.
What does the owner receive at closeout?
A detail count, the test records, product sheets and the permit record, filed together with the punch list.